Quick start
Fast path from dashboard setup to live entitlement checks.
This guide combines dashboard setup and API integration.
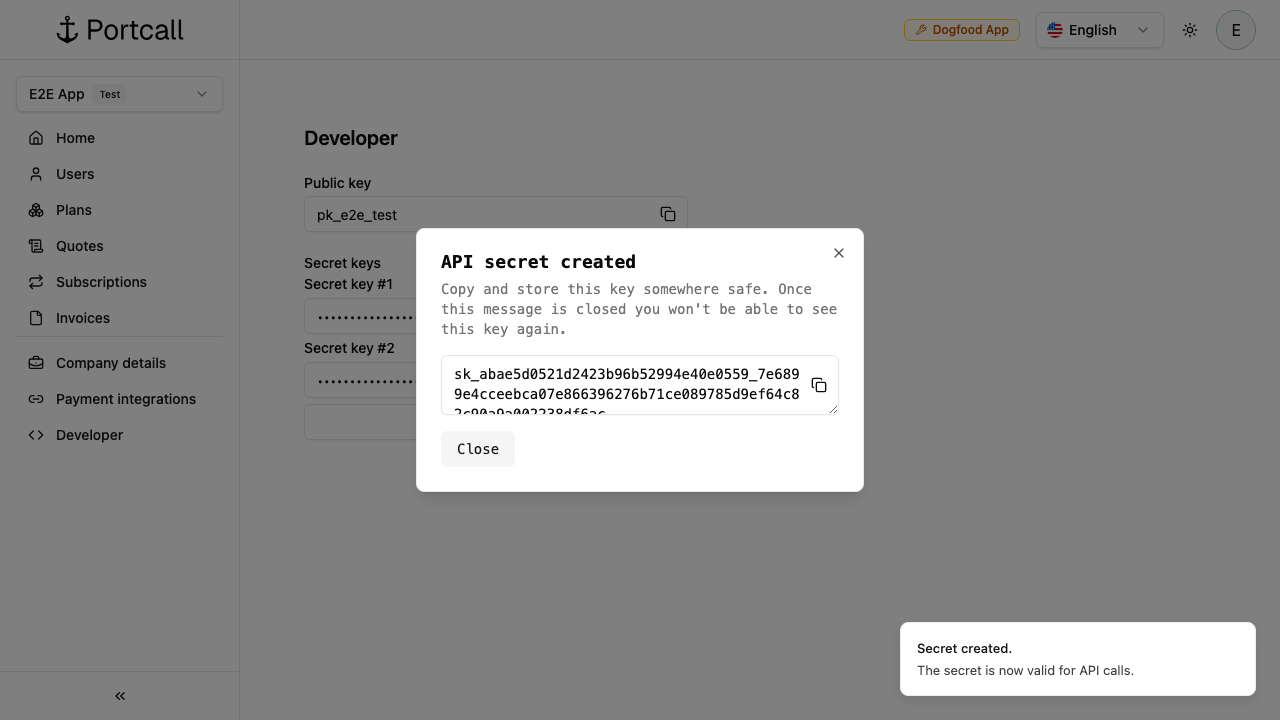
1) Open dashboard and create an API key
- Go to
/developerin Portcall dashboard. - Click Create API Secret.
- Copy the generated key.
2) Set local env vars
export PORTCALL_API_BASE="http://localhost:9080"
export PORTCALL_API_KEY="sk_..."
3) Create a user
curl -sS -X POST "$PORTCALL_API_BASE/v1/users" \
  -H "x-api-key: $PORTCALL_API_KEY" \
  -H "content-type: application/json" \
  -d '{"email":"taylor.chen@example.com","name":"Taylor Chen"}'
4) Create features and plans
- Create features with
POST /v1/features. - Create plan with
POST /v1/plans. - Attach features with
POST /v1/plan-features. - Publish with
POST /v1/plans/{id}/publish.
For step-by-step dashboard flow with screenshots, see Dashboard walkthrough.
5) Connect a payment provider (required for live paid checkout)
For production paid subscriptions, connect Stripe or Braintree in dashboard first.
Without a real provider connection, you can still test locally but cannot process live customer charges.
6) Create checkout session and redirect user
Use POST /v1/checkout-sessions, then redirect to data.url.
7) Enforce access and track usage
- List entitlements:
GET /v1/entitlements?user_id=<user_id> - Read one entitlement:
GET /v1/entitlements/{user_id}/{feature_id} - Record usage:
POST /v1/meter-events